
Last updated November 14, 2026
 Wrought iron
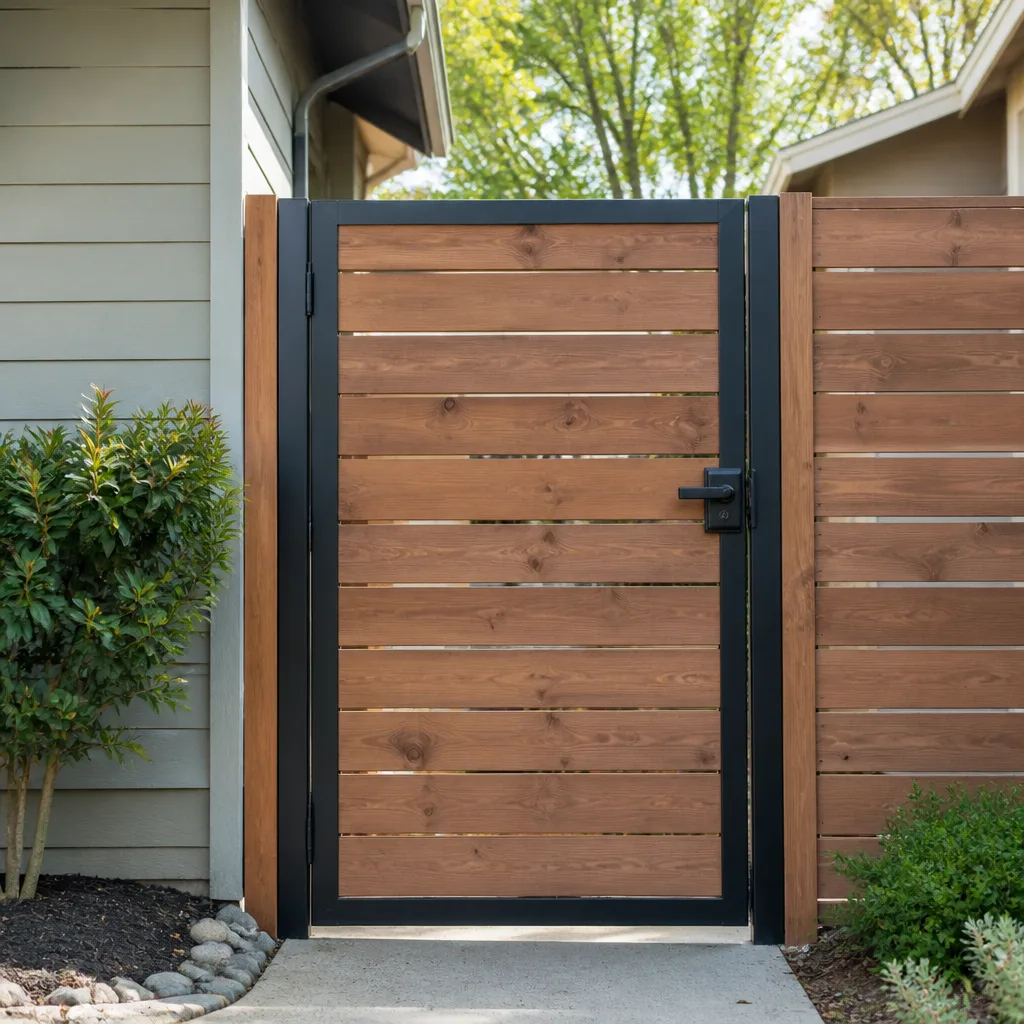 Wood & steel frame
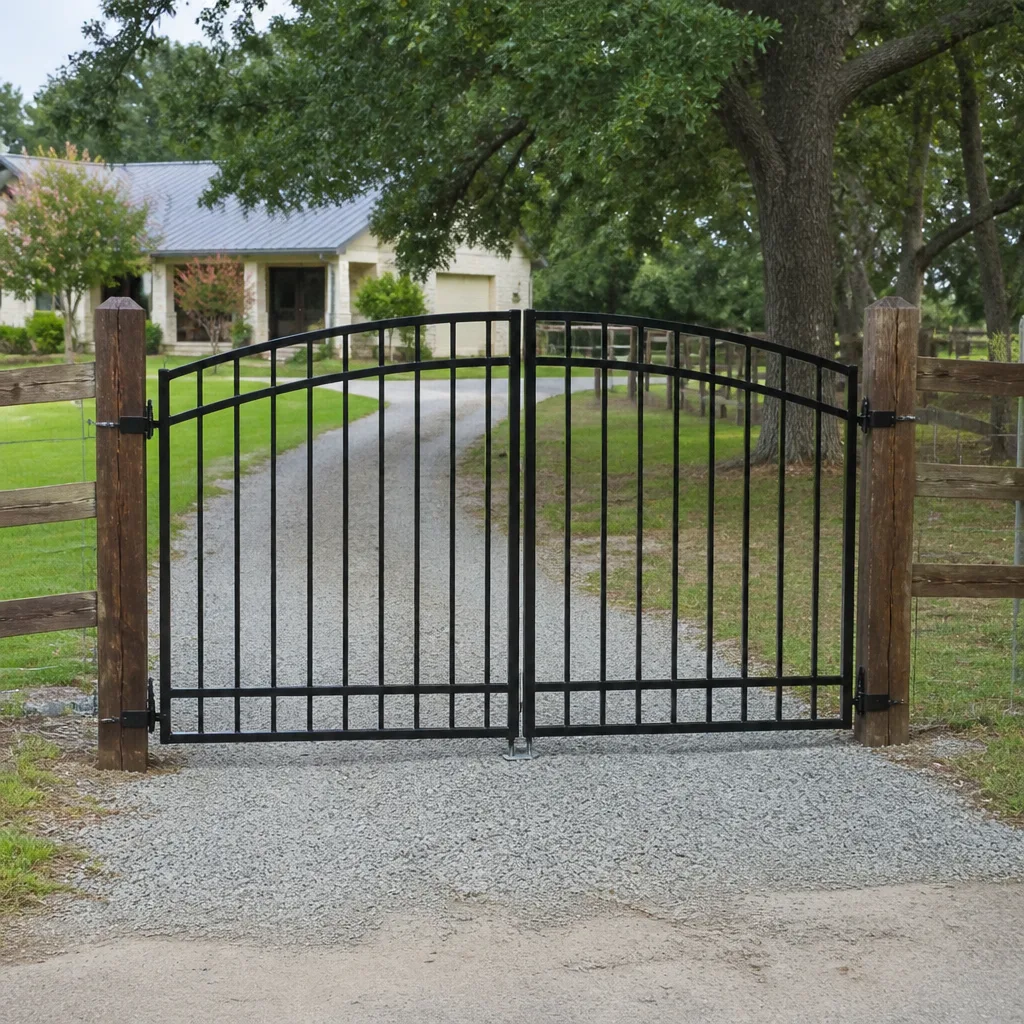 Farm & ranch
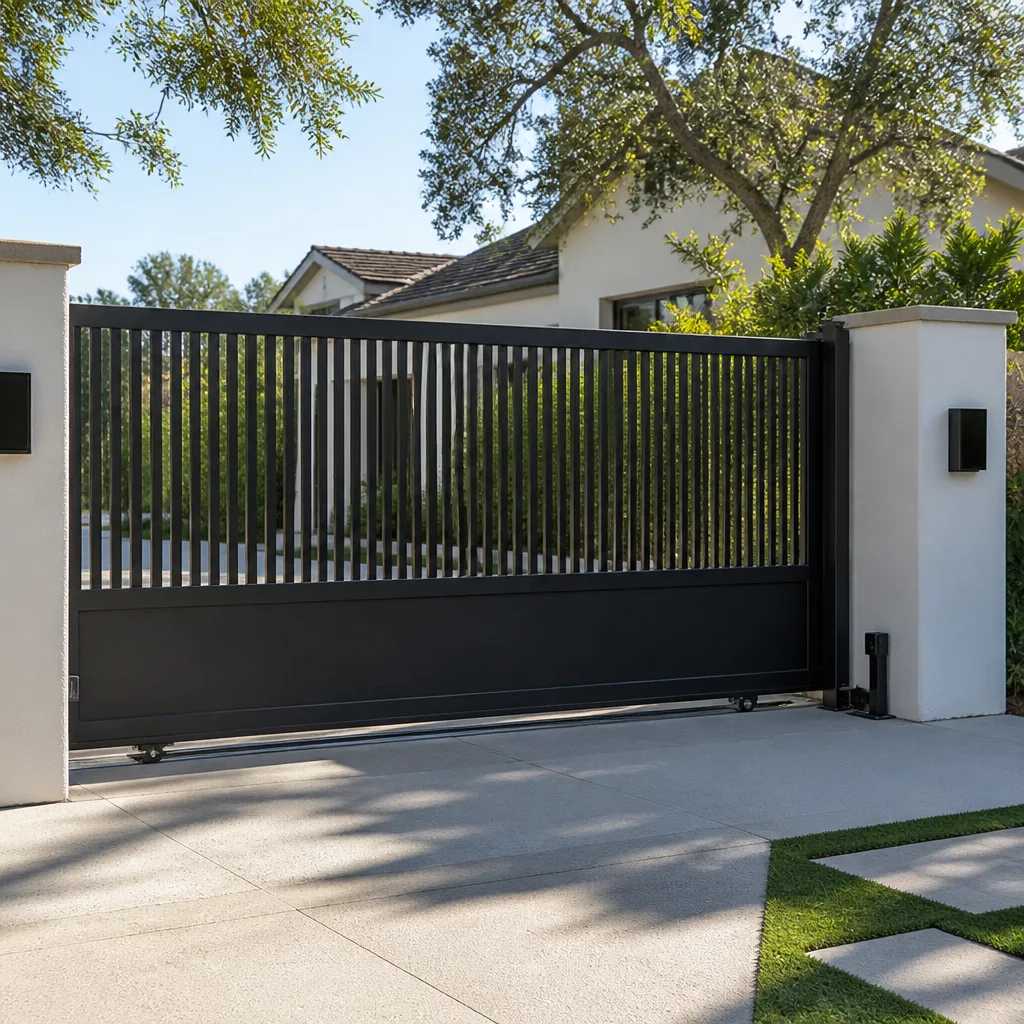 Sliding driveway gates
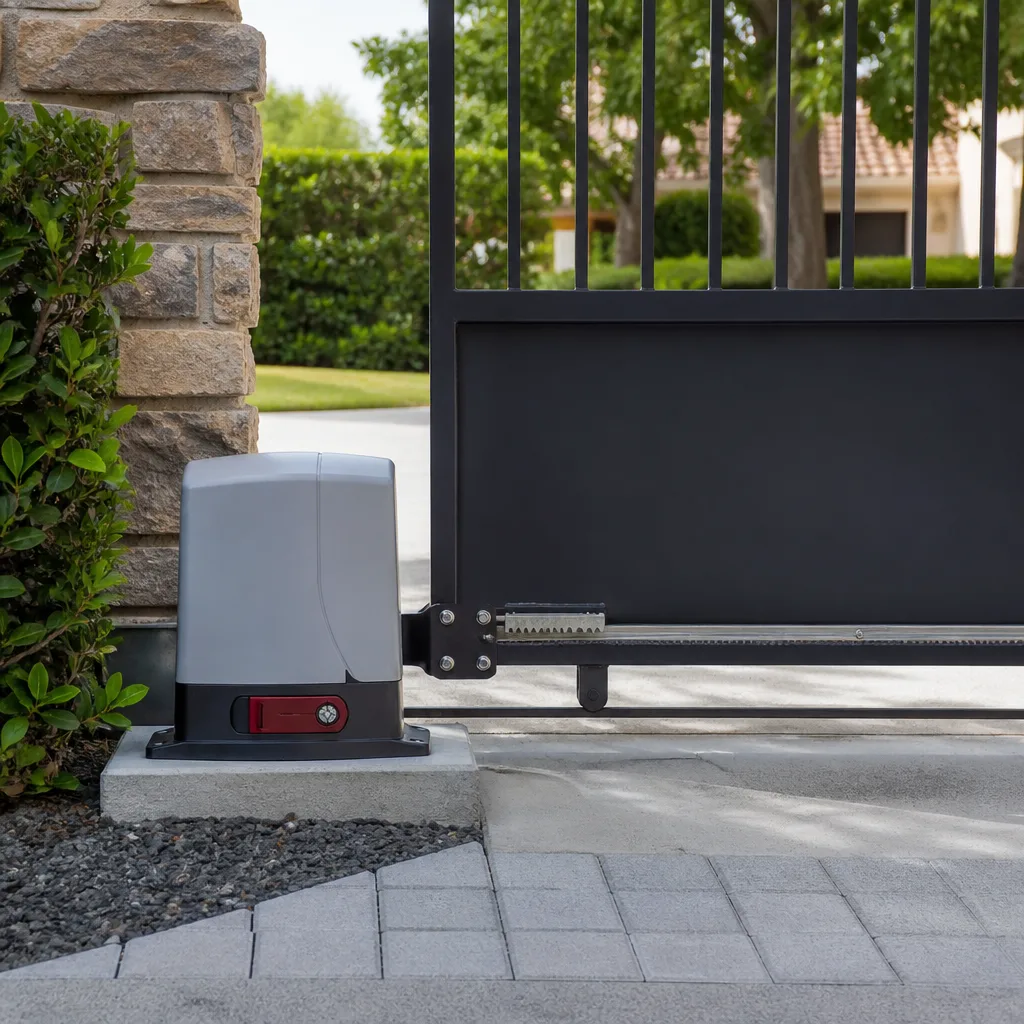 LiftMaster operators
Free on-site gate assessment - hinges, posts, and your LiftMaster or Nice gate operator checked before anything is quoted
The assessment is free and the quote is the invoice.
Get your free estimateGate Repair Troubleshooting in Baltimore: Common Problems and How to Fix Them
A gate that “won’t open” is not a diagnosis. It’s the same thing as telling a mechanic your car “won’t go” – true, but useless. The fix for a failing control board costs many times more than a misaligned safety sensor, and confusing the two is exactly how owners get sold a repair they never needed. Most gate failures come down to one of a handful of mechanical root causes, and you can narrow down which one you’re facing with a few simple physical checks before anyone touches a wire. In this guide, we’ll walk through how to separate electrical, mechanical, and obstruction problems at your Baltimore property, the local conditions that speed up wear here, and the exact point at which you should stop troubleshooting and call a specialist.
Quick Answer
Gate repair troubleshooting in Baltimore starts with three physical checks: confirm the gate moves freely by hand when the operator is disengaged, look for obstructions or a misaligned safety sensor, and read the blinking LED fault code on the operator. If the gate binds, drags, or sits crooked, it’s usually a mechanical problem like hinge wear or footing movement. If it’s dead with no response at all, the fault often lives in the power or control side. Either way, the faster you identify the category, the faster it gets fixed and the less you spend.
Styles & brands we work with
- Wrought iron
- Wood & steel frame
- Farm & ranch
- Sliding driveway gates
- LiftMaster operators
Table of Contents
- The Three Failure Categories: Electrical, Mechanical, and Obstruction
- Baltimore Conditions That Wear Gates Faster
- Reading Your Operator’s Fault Codes Without a Manual
- Hinge Wear: The Check Almost Nobody Mentions
- Foundation Heave and Post Movement on Older Properties
- Manual vs. Automatic Gates: Where to Start
- When to Stop Troubleshooting and Call a Specialist
- Simple Habits That Prevent Repeat Service Calls
The Three Failure Categories: Electrical, Mechanical, and Obstruction
Every gate problem falls into one of three buckets, and sorting your problem into the right bucket is the single most useful thing you can do. It tells you whether the fix is a five-minute adjustment or a parts replacement, and it keeps you from paying for the wrong repair.
Mechanical failures live in the gate itself – the hinges, rollers, track, latch, and frame. The symptom is usually physical: the gate sags, scrapes the ground, binds halfway, or refuses to latch. Disengage the operator and try to swing or slide the gate by hand. If it’s stiff, crooked, or grinds, you’ve found a mechanical cause.
Electrical failures live in the operator, the control board, the power supply, or the low-voltage wiring. The gate may not move at all, may move in one direction only, or may start and stop with no physical obstruction. Signs point here when the gate moves freely by hand but the operator won’t drive it.
Obstruction and safety-device failures are the third bucket. A photo eye knocked out of alignment, debris in the track, or a safety edge that’s triggered will stop a gate that’s otherwise perfectly healthy. These are the most common false alarms, and they’re the first thing a technician checks.
Here’s a simple sequence to sort your problem:
- Disengage the operator (most units have a manual release key or lever).
- Move the gate by hand. Stiff or crooked means mechanical. Free and smooth points elsewhere.
- Re-engage the operator and press the control. No movement at all suggests a power or control fault.
- Look at the safety sensors and the track for anything blocking or misaligned.
- Check the operator’s LED for a fault code pattern.
Whichever bucket your problem lands in, an accurate description gets you a faster fix. That’s why we ask owners to run these checks before we dispatch anyone.
Baltimore Conditions That Wear Gates Faster
Gates in Baltimore take a particular beating that gates in drier parts of the country don’t. The mid-Atlantic humidity is the big one. Moisture hangs in the air through the summer, and it works its way into hinges, pivot points, and the low-voltage connections inside operator housings. Steel corrodes from the inside out, and the corrosion you can’t see is usually the corrosion that causes the failure.
Then there’s the freeze-thaw cycle. Baltimore winters swing above and below freezing repeatedly, and water that seeps into a hinge pin or a footing cracks it open a little more each time it freezes. Over several seasons, a gate that was perfectly aligned starts to bind, drag, and finally stall. This is one of the reasons older properties see so many alignment problems that newer installations don’t.
Road salt is the third factor. Winter road treatment gets tracked onto driveways and splash zones, and it accelerates corrosion on the ground-level hardware – hinges, rollers, tracks, and the base of any post near a driveway apron. The salt migrates into joints where it sits and eats away at metal long after the snow is gone.
What this means practically:
- Hinges and pivot points are the first to seize. Lubrication matters more here than in a dry climate.
- Low-voltage wiring connections inside operator enclosures corrode faster. Loose or green-crusted terminals cause intermittent faults.
- Footings and posts near driveways take the salt hit and move sooner.
- Safety sensor lenses fog, pit, or cloud with moisture and stop reading cleanly.
If we’re called to a gate in Baltimore that’s acting up intermittently, the culprit is often a corroded connection or a hinge that’s slowly seizing rather than a failed board. Diagnosing that difference is the whole job.
Reading Your Operator’s Fault Codes Without a Manual
You don’t need the manual to get useful information out of most gate operators. The blinking LED on the control board is a diagnostic language, and it’s surprisingly consistent across brands and model years. Once you know the pattern – a set number of blinks, then a pause, then the number repeats – you can decode the general category of the fault.
Most units from LiftMaster, Viking, and DoorKing, along with a wide range of others, use a repeating blink sequence. Count the blinks between pauses. That count is the code. Different brands assign the numbers slightly differently, but the broad categories hold:
- A single blink, repeating often signals a safety-device or obstruction issue – a photo eye or safety edge reading a problem.
- Two or three blinks frequently point to a limit, travel, or reversal problem – the operator thinks the gate didn’t reach where it expected to.
- A faster or irregular pattern often means a control or power fault, or a battery backup issue on units that have one.
What matters more than the exact number is the consistency. Here’s what to do:
- Watch the LED for a full cycle and count the blinks between pauses.
- Note whether the pattern repeats the same way each time you trigger the gate.
- Look for a steady, solid light versus a blinking one – a solid light often means a different state than a blink.
- Check the safety sensors and the physical gate path before assuming the code is a hardware fault.
- Write down the pattern and tell it to whoever you call. It narrows the diagnosis before the truck rolls.
We work on the brand you already have, which means we carry the diagnostic knowledge for these blink codes on the common operators and don’t have to look them up on-site. Nine brands, one specialist, and that’s the point of specializing.
Hinge Wear: The Check Almost Nobody Mentions
Generic troubleshooting guides talk about remotes and batteries and never mention the single most common cause of repeat service calls: worn hinges. On a swing gate, the hinges carry the full weight of the leaf every time it moves, and on older Baltimore properties, those hinges have been doing it for years. The wear is gradual and easy to miss, but it produces a cascade of symptoms that look like a dozen different problems.
When hinges wear, the gate leaf starts to sag. A sagging leaf no longer sits square in its frame, so the latch won’t catch cleanly, the operator has to work harder, and the gate starts to bind or drag. Owners often call about a gate “that won’t latch” or “that opens halfway and stops,” when the real problem is $30 worth of worn hinge hardware and an hour of adjustment.
Here’s how to check hinge wear on a swing gate:
- Disengage the operator so you can move the gate by hand.
- Swing the gate through its full range and feel for a spot where it binds or catches.
- Look at the gap between the gate leaf and the post at the top and bottom. An uneven gap suggests hinge wear or movement.
- Push up on the gate leaf near the hinge side. Any vertical play means the hinge is worn or the pin is loose.
- Check that the hinge bolts are tight and the plates are seated flat.
A gate that sags and binds wears out its operator faster, so catching hinge wear early saves you a control board replacement down the line. On a slide gate, the equivalent is roller wear and track alignment; the principle is the same. If the gate doesn’t roll smoothly and sit level, that’s the first thing to fix.
Foundation Heave and Post Movement on Older Properties
The second check that generic guides skip is post movement. On Baltimore’s older rowhouse and estate properties, the gate posts are often as old as the property, and the ground beneath them has been shifting for decades. Freeze-thaw cycles move soil. Drainage changes move soil. And when a post moves, the gate that hangs from it goes out of alignment, and the operator that drives the gate starts fighting geometry it can’t win.
Two things matter here: post movement sideways (racking) and post movement vertically (heave). Racking throws the gate out of square and makes it drag. Heave lifts one post higher than the other, which on a swing gate makes the leaf sit at an angle and on a slide gate bends the track in ways no adjustment can fix.
What to look for:
- Cracks or gaps in the concrete around the post base. Visible separation means the post is moving.
- A gate that stays crooked even after you adjust the hardware. If adjustment doesn’t hold, the post is the problem.
- A hump or dip in the ground near the post. Soil heave shows up here first.
- A latch that lines up in warm weather and misses in cold weather. That’s the post moving with the seasons.
If the post is moving, adjusting the hinges and the operator only buys time. The real fix is resetting or re-setting the post footing, and that’s a job for someone who works on gates specifically, not a general handyman. It’s also why so many “repeat” service calls happen on older properties: the symptom gets addressed, but the post was the root cause all along. In our experience the footing is the part most owners don’t think to check.
Manual vs. Automatic Gates: Where to Start
The trouble shooting path splits depending on whether your gate is manual or automatic, and knowing which side of the automation line your problem is on saves a lot of guessing.
On a manual gate, the diagnosis is almost entirely physical. If the gate won’t open or close, it’s binding, dragging, out of alignment, or the latch or hinge has failed. There’s no control board to read, so check the gate path, the hinges, the rollers, and the post first. Most manual gate problems come down to wear and alignment, and the fix is mechanical.
On an automatic gate, you have the mechanical layer and the automation layer, and the two can fail independently. Electric or manual, we diagnose both sides of the problem, because a gate with a dead operator and a gate with a healthy operator but a dragging leaf present completely differently. On automatic gates, run through the mechanical checks first, then move to the operator: fault code, safety sensors, control power, and the low-voltage wiring. If the mechanical problem is real, fixing the electronics first just puts you back on a repeat call. Our electric gate repair work exists exactly at that seam between the mechanical and low-voltage sides.
A few practical guideposts:
- Gate won’t move at all, even by hand: mechanical, likely binding or seized hardware.
- Gate moves freely by hand but won’t drive: operator or control side.
- Gate drives partway and reverses: safety device or limit problem.
- Gate opens but won’t close, or closes but won’t open: damaged limit, one-direction wiring fault, or a safety device reading one direction.
Walking those checks in order is the difference between a clear diagnosis and an expensive guess.
When to Stop Troubleshooting and Call a Specialist
Knowing when to stop is as important as knowing what to check. Some conditions belong to a trained technician, and pushing past them is dangerous. If you’re facing any of the following, stop and call a professional immediately:
- Live or exposed wires near the operator, the control box, or anywhere in the gate system. Do not touch them.
- Hydraulic fluid leaking from a hydraulic operator. This means a seal or pressure fault you shouldn’t be handling yourself.
- A gate that has come off its track or out of its hinges – a heavy, unbalanced gate leaf can fall or swing with force you can’t control.
- Sparks, a burning smell, or a tripped breaker that won’t reset. That’s an electrical fault, not a gate fault in the mechanical sense.
- A gate that slams or reverses unpredictably around people, pets, or vehicles. Safety devices have failed, and getting this wrong risks injury.
Any of the above is where troubleshooting ends and a professional begins. We can work with your existing equipment and get your gate repair done with the right parts and the right diagnosis. And you’ll get the price per job by written estimate, agreed before any work starts, so there are no surprises on the invoice.
Simple Habits That Prevent Repeat Service Calls
The most expensive gate problem is the one that comes back. Prevention cuts down on repeat calls, and almost all of it is simple:
- Lubricate the hinges and pivot points on a regular schedule. Cheap, and it’s the single biggest thing you can do to prevent binding.
- Keep the track and the gate path clear of debris, gravel, and yard waste.
- Wipe and check the safety sensor lenses when they get dirty or fog up.
- Look at the post base and the alignment once a season. Catching a moving post early is far cheaper than resetting a footing later.
- Watch for hinge play and uneven gaps. Fix small hardware wear before it wears out the operator.
- Keep the operator enclosure sealed so moisture and road salt don’t get into the low-voltage connections.
None of these are complicated, and together they spare you most of the repeat visits that catch owners off guard in this climate.
Common Mistakes to Avoid
- Treating “won’t open” as the problem itself. It’s a symptom, and chasing it with guesswork is how you pay for the wrong repair. Sort the problem into mechanical, electrical, or obstruction first.
- Adjusting the operator before the gate itself. If the leaf is dragging or the post has moved, adjusting the operator just fights geometry. Fix the mechanical side first.
- Ignoring hinge wear because the hardware looks fine. Worn hinges quietly wear out the operator. Any vertical play or uneven gap is worth checking.
- Assuming a post is stable because the concrete looks solid. Cracks and gaps around the base tell the real story, and freeze-thaw moves footing here more than most owners expect.
- Cleaning and re-aiming sensors with the power on. That’s an electrical safety risk. Disconnect power before you go near the sensors or wiring.
- Calling a general handyman for a control-board fault. Electronic and automated gate faults need someone who diagnoses the automation side. A generalist is likely to Google the model on-site.
- Putting off a gate that slams or reverses unpredictably. That’s a safety failure, not an inconvenience, and it belongs with a specialist right away.
See the difference
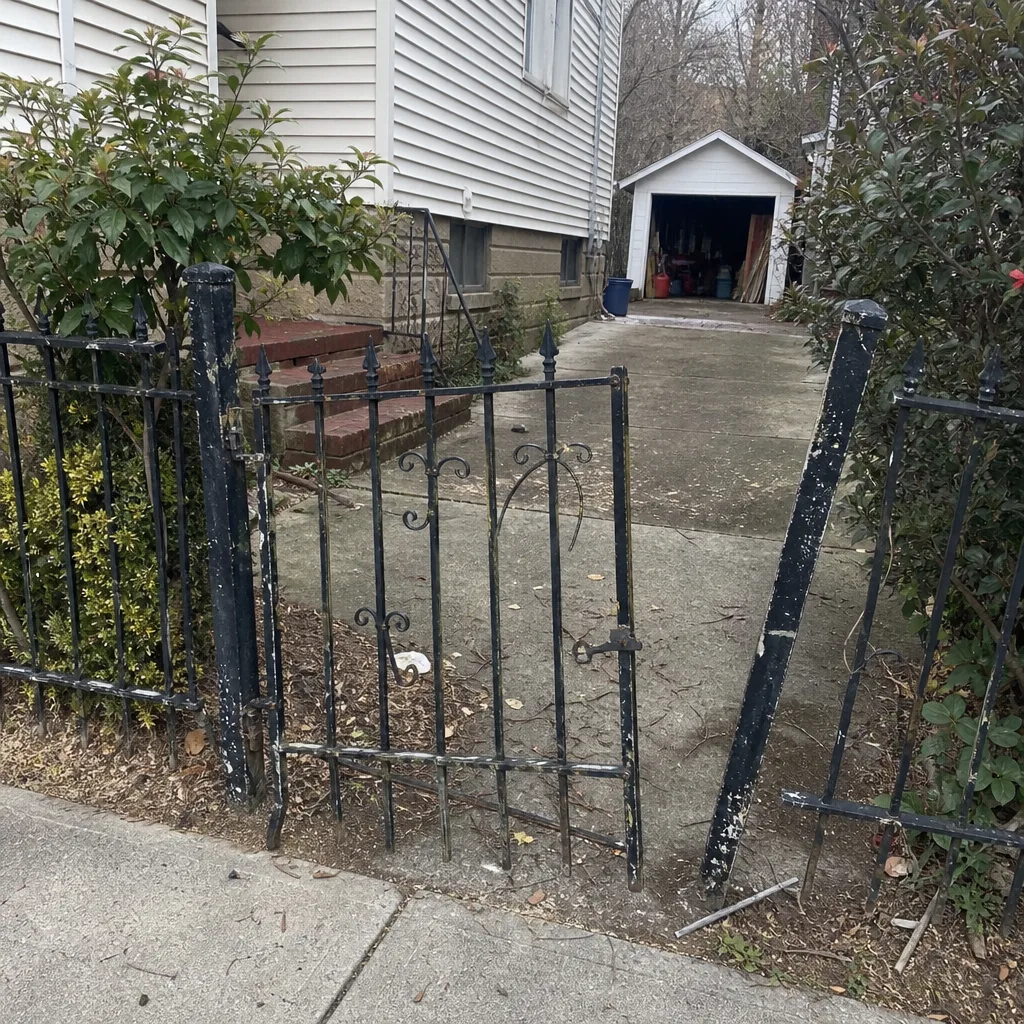 Before
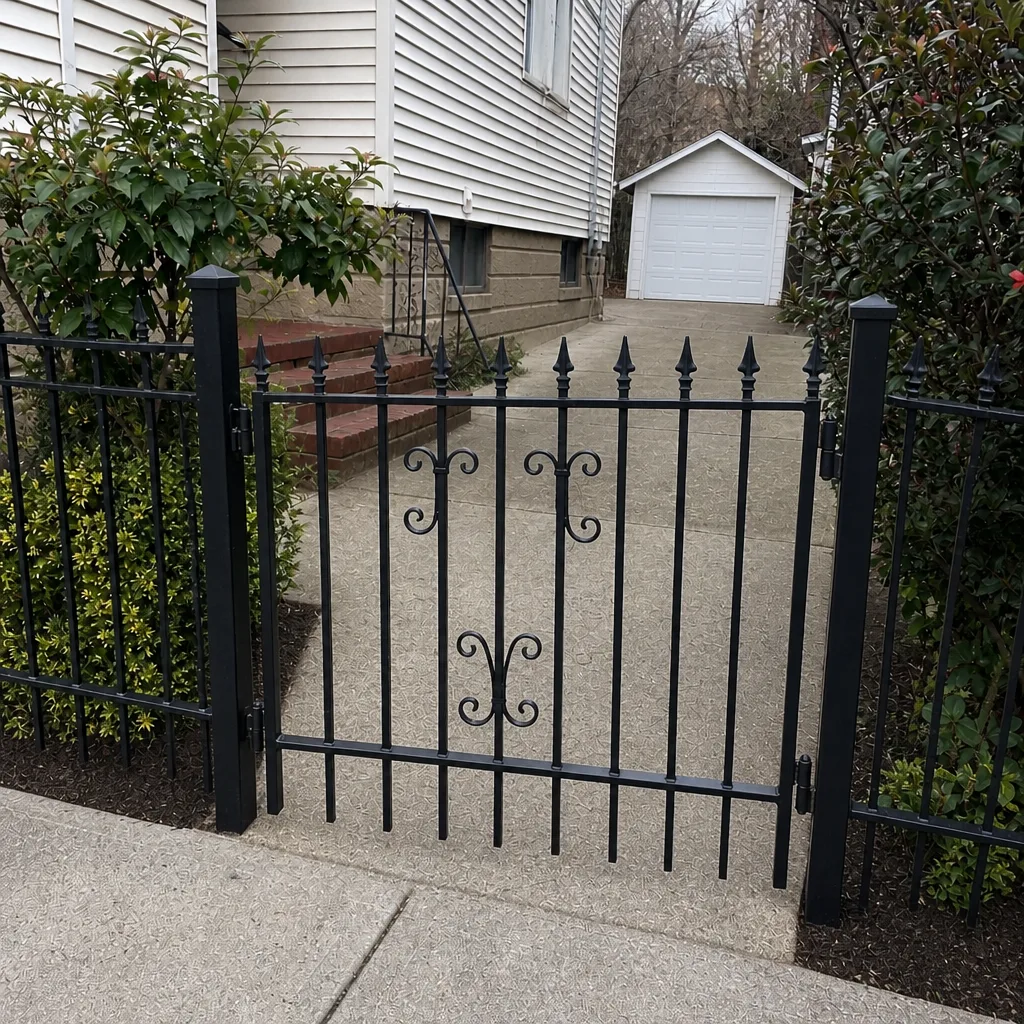 After
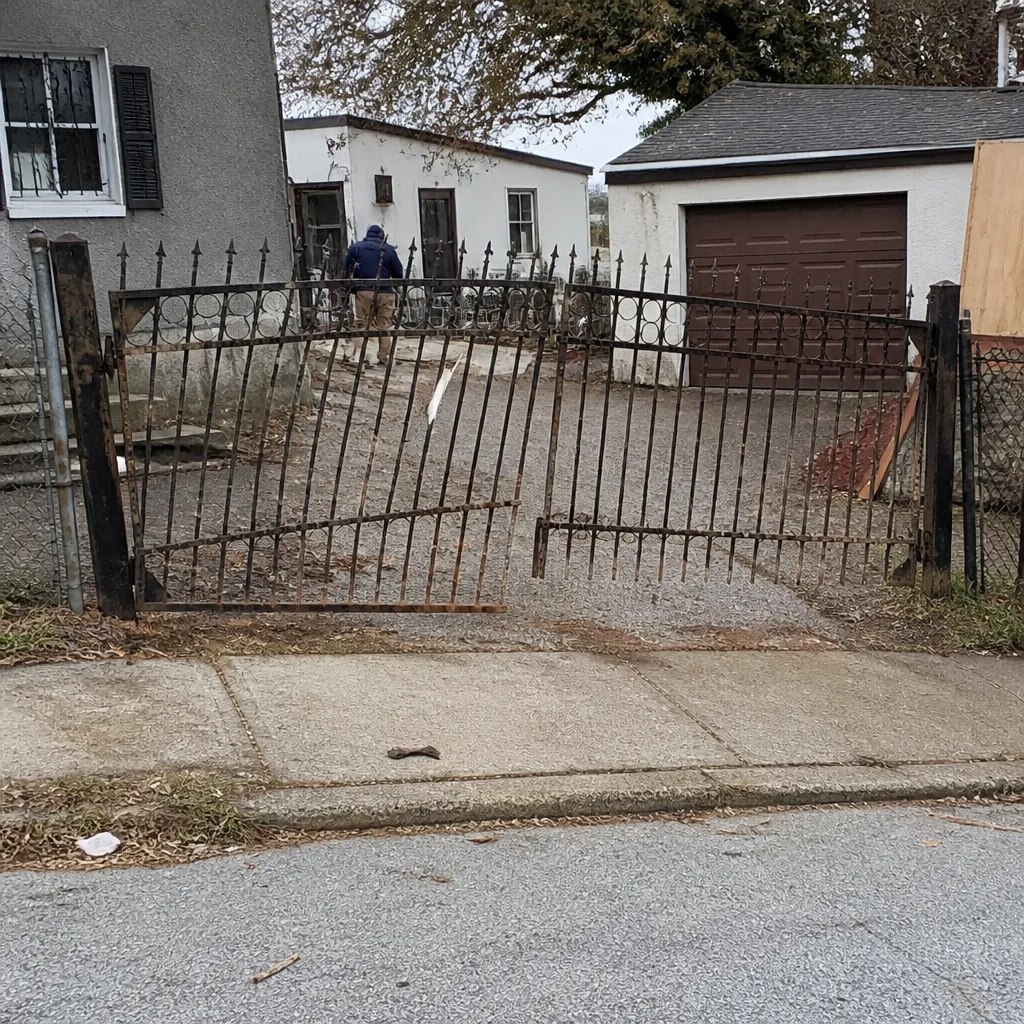 Before
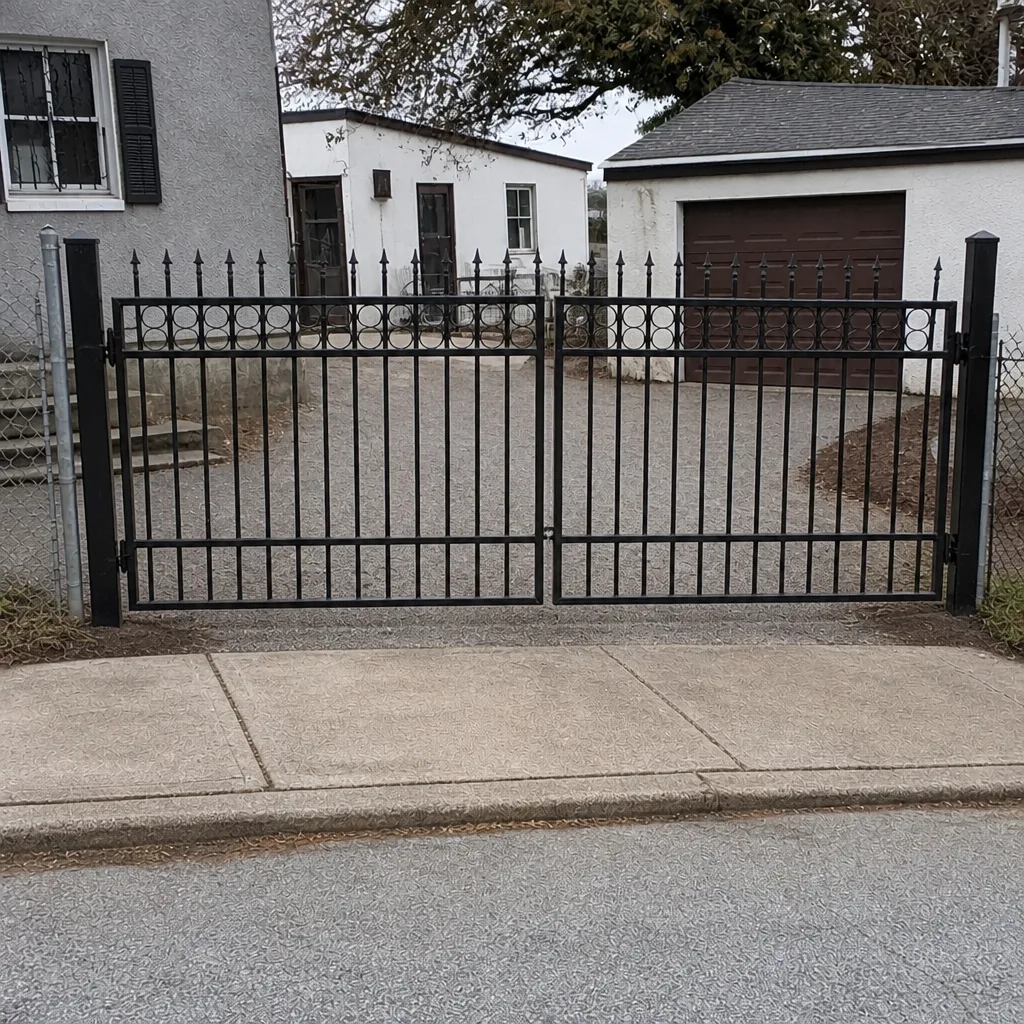 After
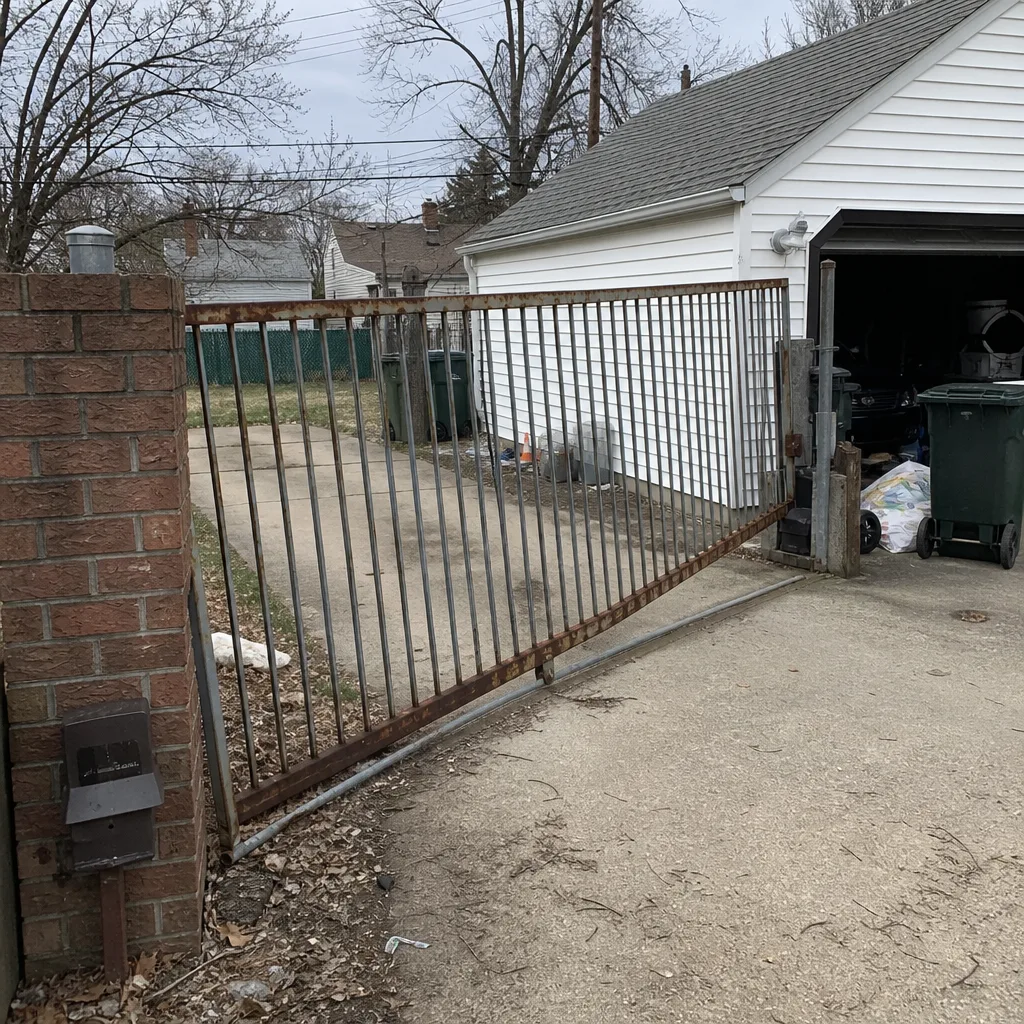 Before
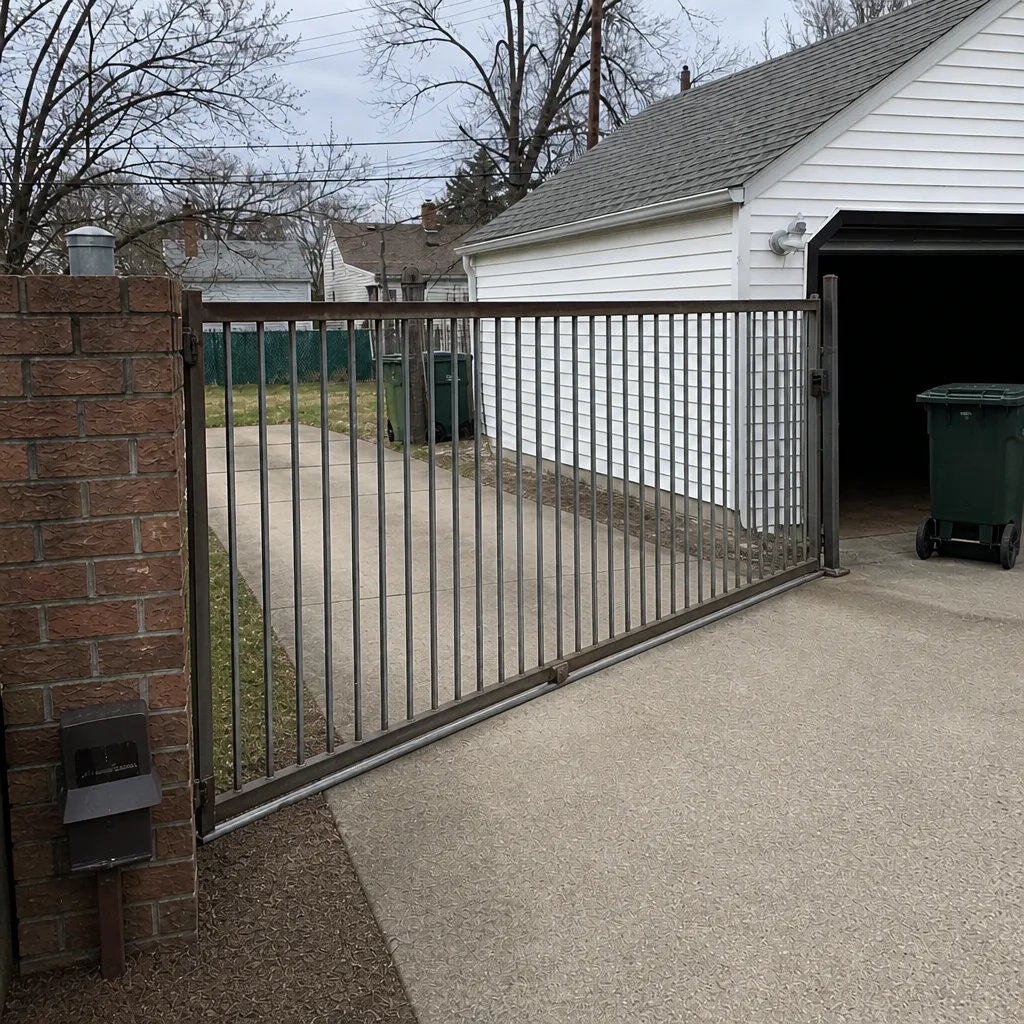 After
When to Call a Professional
Some problems are yours to check, and some are ours to handle. If you’ve run the basic checks and the problem persists, if you’re seeing fault codes you can’t decode, if a hinge or post has clearly worn or moved, or if the gate binds, drags, or slams, it’s time to bring a specialist in. The same goes for anything electrical you’re not comfortable testing, and anything involving a gate that’s off its track. Baltimore Gate Repair offers free estimates in Baltimore, and we’re gate-only specialists – every call and every technician is dedicated to gates. Call (855) 356-2557 for a free estimate.
Frequently Asked Questions
The most common causes are a misaligned safety sensor, a worn hinge or dragging gate leaf, or a control-side fault, in roughly that order of frequency. Start by checking the gate path and sensors, then look at the operator’s LED fault code. If the gate won’t move at all, it’s worth stopping troubleshooting and calling a specialist. Call (855) 356-2557 for an exact quote – estimates are free.
Disengage the operator and move the gate by hand. If it’s stiff, crooked, or binds, it’s mechanical. If it moves freely by hand but the operator won’t drive it, the fault is on the electrical or control side. That single test sorts most problems before anyone touches a wire.
The blinking LED is a repeating pattern, and the number of blinks between pauses is a diagnostic code. The exact meaning varies by brand, but safety-device faults, limit or reversal faults, and control or power faults show up in consistent pattern families across LiftMaster, Viking, DoorKing, and many others. Write down the pattern and share it when you call.
Humidity, freeze-thaw cycles, and winter road salt wear specific components faster here than in drier climates. Hinges seize, footing posts move, and low-voltage connections corrode sooner. Regular lubrication and seasonal checks on the hinges and post base prevent most of it.
You can safely check the gate by hand, look for obstructions, read the fault code, and inspect hinges and post movement. Stop and call a professional for live wires, hydraulic fluid leaks, a gate off its track, or a gate that slams or reverses unpredictably. Those are safety issues, not maintenance.
Yes, on the automation side. Automatic gates need someone comfortable with both the mechanical gate and the low-voltage control system, and a general handyman usually only handles one. Electric or manual, we diagnose both sides of the problem.
The Bottom Line
Most Baltimore gate failures come down to a small set of root causes – worn hinges, post movement, corroded connections, safety-device faults, and control faults – and knowing which category you’re in is the whole game. Check the gate by hand, look at the sensors and track, read the fault code, and inspect the hinges and post base. If the gate binds, drags, slams, or gets stuck, and if any electrical or safety condition is present, stop and call a specialist. Get the price per job by written estimate before work starts. Call (855) 356-2557. We answer 24/7. Fast dispatch from 7am to 7pm, Sunday through Friday, closed Saturday.
Written by the team at Baltimore Gate Repair, serving Baltimore since 2016.