
Last updated November 14, 2026
 Wrought iron
 Wood & steel frame
 Farm & ranch
 Sliding driveway gates
 LiftMaster operators
Free on-site gate assessment - hinges, posts, and your LiftMaster or Nice gate operator checked before anything is quoted
The assessment is free and the quote is the invoice.
Get your free estimateGate Repair Maintenance Checklist for Baltimore Homeowners
Most gate maintenance advice says “lubricate the hinges twice a year.” That’s like telling someone to “check the car” – it sounds useful and accomplishes nothing without specifics. A gate is a machine with moving parts, tolerances, and a power system that fails quietly long before it fails loudly. What you need isn’t a vague reminder to grease something. You need measurements, inspection points, and threshold numbers that tell you when something has drifted out of spec and when it’s still fine. This guide gives you exactly that: a checklist built for the specific stressors a Baltimore property puts on a gate, from winter road salt to summer humidity that swells wood and works fasteners loose.
Quick Answer
A gate maintenance checklist for a Baltimore homeowner should cover three areas: mechanical inspection (gaps, clearances, hardware tightness, track condition), lubrication done with the right product for the right part, and operator testing (battery backup, safety reversal, manual release). Inspect monthly with a quick visual pass, do a thorough measurement check every season, and schedule a professional inspection once a year. Baltimore’s freeze-thaw cycles, road salt, and summer humidity make seasonal checks more important here than in milder climates.
Styles & brands we work with
- Wrought iron
- Wood & steel frame
- Farm & ranch
- Sliding driveway gates
- LiftMaster operators
Table of Contents
- Measuring Gate Gap, Swing Arc, and Ground Clearance
- Lubrication: What to Use and What Destroys Your Operator
- Testing Battery Backup on Automatic Gates
- Baltimore-Specific Corrosion Checkpoints
- A Seasonal Maintenance Calendar for Baltimore Weather
- Inspection Tasks That Preserve Your Operator Warranty
- Safety Systems You Should Never Skip
- When DIY Checks Aren’t Enough
Measuring Gate Gap, Swing Arc, and Ground Clearance
Alignment drift is the root cause of most gate failures, and it happens slowly enough that you won’t notice until something drags or binds. The fix is to measure, not eyeball. Grab a tape measure and check these three numbers every season.
Gate gap (the vertical space between the gate’s bottom rail and the ground): On most residential swing and slide gates, you want roughly 2 to 4 inches of clearance. Less than that and the gate will scrape through winter ice heaves and summer ground movement. More than that and you’re inviting animals underneath and losing structural rigidity. If the number changes between inspections, the hinges or posts have moved.
Swing arc: On a swing gate, the arc the gate travels should clear the ground and any obstacles by a consistent margin through the full 90 degrees. Watch the lowest corner as the gate opens. If it dips closer to the ground at the midpoint than at either end, the hinge post has settled or the hinge has worn. That’s a post-level problem, not a hinge-lube problem.
Horizontal gap at the latch: The gap between the gate’s leading edge and the strike post should stay consistent top to bottom. A gap that’s wider at the top than the bottom (or vice versa) means the gate has twisted or the post has leaned. On wooden gates, this happens naturally as humidity changes through the year, but a difference of more than about half an inch that doesn’t come back is a real alignment issue.
On slide gates, the equivalent checks are track level (check with a spirit level along the track run), wheel-to-track contact, and rack-and-pinion alignment on the operator side. Any of these drifting signals a problem earlier than a visual inspection ever will. If you’re seeing scrape marks on the track or uneven wheel wear, that’s the gate telling you alignment is off. Our gate repair technicians measure all of these on every diagnostic visit because alignment drift is almost always the underlying cause of a “sticking gate” call.
Lubrication: What to Use and What Destroys Your Operator
Here’s the part most checklists get dangerously wrong: not all lubricants are compatible with all gate parts. Using the wrong one on an automatic gate operator can destroy rubber seals, swell nylon bushings, and void your warranty. In our experience, this is one of the most common causes of premature operator failure on residential gates around Baltimore.
What not to use on any gate operator:
- Petroleum-based grease or WD-40 on rubber seals. These attack the rubber seals on hydraulic and gear-driven operators, causing leaks and premature failure. The seals are what keep the operator’s internals clean and lubricated; once they swell or crack, you’re looking at a rebuild or a replacement.
- Silicone spray on nylon bushings and slide blocks. Silicone attracts grit, and grit grinds nylon bushings down. Use a dry PTFE or graphite lubricant instead, or a light lithium grease where the manufacturer calls for it.
- Chain lube on the gate track itself. Track lubrication attracts debris that the wheels then press into the track surface, causing flat spots and premature wheel wear. Tracks should be cleaned, not greased.
- Any aerosol sprayed near the operator’s control board or wiring gland. Overspray on low-voltage wiring connections is a slow-motion failure that shows up as intermittent “ghost opens” months later.
What to use, and where:
- Hinges and pivot points: a light machine oil or a lithium grease, applied sparingly. LiftMaster and Linear operators usually specify the acceptable lubricant in the manual – check before you buy anything.
- Operator gearbox: use only the lubricant the manufacturer specifies. FAAC and BFT hydraulic operators in particular are picky about seal-compatible oil, and substituting “whatever’s on the shelf” is how hydraulic units leak.
- Lock and latch mechanisms: graphite or a dry PTFE spray, not oil, so grit doesn’t collect.
- Slide gate track: clean with a stiff brush and a mild degreaser, then wipe dry. No lubricant.
Buy one small can of the right product and one of the right grease and you’re set for years. The wrong stuff in the wrong place is more expensive than doing nothing at all.
Testing Battery Backup on Automatic Gates
This is the step almost every homeowner skips, and it’s the one that matters most when the power goes out – which in Baltimore happens often enough in summer storms and winter ice events. A battery backup on an automatic gate is a consumer-grade battery sitting inside a box, and batteries degrade with age and temperature swings. Test it, don’t trust it.
How to test a battery backup on an automatic gate:
- Note the gate’s normal travel time. Time a full open and a full close cycle while the gate is on mains power.
- Trip the breaker that feeds the operator. Turn off the power to the gate’s circuit at the breaker panel so the operator runs on battery only. If you’re not comfortable at the panel, call a professional – this is the one electrical step a homeowner shouldn’t do on a guess.
- Run the same cycle. Open and close the gate on battery power and time it again. The travel should be within a few seconds of the mains-powered time. Noticeably slower travel means the battery is weak.
- Test the safety reversal on battery. Wave an object in the gate’s path while it’s closing on battery power. The gate must reverse. If it doesn’t, stop using the gate until a technician checks the safety circuit – the reversal function on battery power is a life-safety matter.
- Restore power and check the operator’s indicator. Most LiftMaster and Linear operators have a status light or display that reports battery health. Check what the manual says the light pattern means.
A battery backup that’s more than two to three years old and shows slow travel under load is a battery on its way out. Ghost opens, slow travel, and a gate that won’t complete a full cycle after an outage are all symptoms. Nobody wants to be the person whose gate won’t open for the 6am commute because the backup battery died. If the battery fails and you can’t find a replacement that matches the operator, our electric gate repair technicians carry brand-specific batteries for LiftMaster, FAAC, BFT, Linear, and the other major operators we work with.
Baltimore-Specific Corrosion Checkpoints
Baltimore puts gate hardware through a specific and unpleasant combination: winter road salt migration from the streets and driveways, and the acid rain that settles on every horizontal surface in the region. Salt attacks iron and steel by accelerating oxidation; acid rain attacks galvanized coatings and painted finishes. Where they concentrate is where you’ll find your corrosion first.
The specific corrosion checkpoints on a Baltimore gate:
- Hinge pins and the plate where they bolt to the gate frame and post. These are the lowest points on the gate and collect salt-laden puddle splash and road spray kicked up by vehicles pulling into the driveway. Check the pin itself and the plate for surface rust, and check that the pin still turns freely. A hinge that’s begun to seize is the earliest corrosion symptom.
- Gate post footings at the grade line. Road salt accumulating at the base of the post is where pack rust (rust that grows between mating surfaces and pushes them apart) starts. Look for bubbling paint or a crust of corrosion where the post meets concrete.
- Slide gate track and the wheels that run on it. On slide gates, the track sits low to the ground and salt-laden grit collects in the channel. That grit both corrodes the track and chews the wheels. In winter, brush the track after storms; in spring, inspect for pitting.
- Latch and strike plates. These get overlooked because they’re small, but a corroded latch is a gate that won’t stay shut. Acid rain on the vertical face of a latch is enough to start rust in a season.
- Operator mounting brackets and any exposed fasteners. Steel brackets mounting an operator to the post are often the first thing to rust, because they’re exposed on all sides. Check for rust bloom around bolt heads.
If your gate is iron or steel, wash it down after the last salting event of winter. A garden hose and a stiff brush will do more for gate lifespan than any coating. If you see rust through the finish in more than one or two spots, the finish has failed and the gate is now corroding underneath – that’s a job for a specialist to assess before the metal is compromised.
A Seasonal Maintenance Calendar for Baltimore Weather
Baltimore’s weather creates two distinct maintenance seasons for a gate, and the checklist you do in April isn’t the checklist you do in November. Here’s how to split the year.
Spring (after the last freeze):
- Wash down iron and steel gates to remove road salt residue.
- Measure gate gap, swing arc, and latch gap; record the numbers so you can compare next season.
- Inspect for frost heave at gate post footings – winter freeze-thaw cycles move posts in this region more than people expect.
- Change or test the operator battery after the cold season; cold degrades battery capacity.
- Inspect the track on slide gates for grit and pitting.
- Check wooden gates for swollen joints and loose fasteners from winter moisture.
Summer (humidity and storms):
- Check wooden gates for expansion binding – gates that fit in spring can start dragging in summer humidity. This is normal, but a gate that binds hard enough to strain the operator is a problem.
- Test safety reversal and the photo-eye system after any storm that brings debris onto the gate path.
- Test battery backup ahead of summer storm season.
- Inspect electrical connections at the operator for corrosion or water intrusion.
Fall (before the first freeze):
- Lubricate hinges and pivot points. Do this before winter, not after – a hinge that freezes with old, stiff grease is a hinge that breaks in January.
- Test battery backup again before winter storm season.
- Clear leaves and debris from slide gate tracks and the gate’s swing path.
- Inspect the operator housing for cracks or gaps that could let water in, and check the seal on any exposed operator control box.
- Do a full measurement check and compare to your spring numbers.
Winter: Keep the gate path clear and monitor the gate during and after storms. After heavy road salting, brush any salt-laden snow away from the gate rather than letting it melt onto the gate hardware. A gate that fails in a Baltimore winter is usually a gate that stopped being maintained the previous fall.
Inspection Tasks That Preserve Your Operator Warranty
Gate operator warranties aren’t unconditional. Most brand warranties – LiftMaster, FAAC, BFT, Linear, and the rest – have clauses about proper installation, proper lubrication, and inspection. Doing the right inspections (and being able to document them) is what keeps the warranty intact if you ever need to claim it.
What to inspect for warranty preservation:
- The operator’s intended use vs. yours. Residential operators are rated for a cycle count. If your gate is used more often than the operator’s rated cycle, you’re out of warranty territory, so check your operator’s manual for the rated cycles and note how many times per day the gate actually runs.
- Lubricant and grease type. Using the manufacturer-specified lubricant is a warranty condition on many operators. Save the receipt and the product label.
- Safety system function. Most operators require functional photo-eyes and reversal. A safety system that’s been bypassed or removed is a warranty void waiting to happen.
- Installation condition. Ensure the operator is mounted the way the manual specifies, with the correct bracket and the correct clearance. If a prior installer improvised, it’s worth having it reviewed.
- Water intrusion and corrosion. Document any water in the operator housing or corrosion on the circuit board. Environmental damage is a claimable condition, but only if you have a record of the condition before it fails.
Keep a simple maintenance log with dates, measurements, and the lubricants you used. It’s the cheapest insurance policy your gate operator will ever get. If you’re not sure your operator was installed to spec, a professional inspection can tell you.
Safety Systems You Should Never Skip
Automatic gates are heavy, and a gate is a machine that moves a substantial mass on a schedule, sometimes with nobody watching. The safety systems on an automatic gate are not optional features; they are the reason an automatic gate is safe to have on a property with kids, pets, or visitors.
What to check every month, and why it matters:
- Photo-eyes (the safety beam across the gate opening). Test by breaking the beam while the gate is closing – the gate must reverse. Test it by hand, and don’t assume it works because it’s installed. Photo-eyes get misaligned by wind, debris, and yard work.
- Safety edges. On slide gates and swing gates with an edge sensor, the edge must reverse the gate on contact. Test it gently, then check the sensor’s connection for corrosion.
- Manual release. Every automatic gate needs a way to be opened manually in a power failure. Test the manual release at least once a season so you know how it works before you need it.
- Warning signage. Most operator manufacturers require warning labels on the gate. Make sure the sign is still legible and attached.
If a safety system has failed and you can’t find the fault, don’t use the gate until a technician can. Never bypass a safety system to get the gate running “for now.” That’s the one shortcut that can cause a serious injury, and it’s the one shortcut our technicians see most often when a gate has been crashed. On the electrical side – the operator’s power wiring, the control board, the low-voltage connections to safety devices – leave the work to a trained professional. Low-voltage wiring is still wiring, and a miswired operator is both a shock hazard and a way to destroy an expensive control board.
When DIY Checks Aren’t Enough
The checklist in this guide will catch most of what goes wrong with a residential gate. But there’s a line between maintenance and repair, and knowing where that line is what keeps a small problem from becoming an expensive one.
Call a professional when:
- Measurements have drifted between seasons – a gate gap that’s changed, a gate that dips through its swing, a post that’s moved. Alignment problems need post work or hinge replacement, not another round of grease.
- The operator is electrically or electronically failing – intermittent opens, a control board that’s faulting, or a battery backup that won’t hold. Diagnosing an operator means reading the control board’s faults and testing the power side; that’s not a homeowner job.
- The gate is binding hard enough to strain the operator. A gate that used to open smoothly and now strains is telling you the mechanical load has increased. Left alone, it will burn out the operator.
- You’ve had a crash, a vehicle strike, or a gate that’s come off its track. Structural repair comes before any maintenance. A gate that’s been hit is a safety hazard until a technician has checked it.
- You want a professional assessment before a sale, a refinance, or a warranty claim.
Our Baltimore gate repair team handles mechanical repair, electric and automatic gate repair, and new gate installation – so you never need a second company to finish the job. We work on the brand you already have, and electric or manual, we diagnose both sides of the problem. Call (855) 356-2557 for a free estimate. We answer 24/7. Fast dispatch from 7am to 7pm, Sunday through Friday.
Common Mistakes to Avoid
- Lubricating the track. A greased slide gate track collects grit and grinds the wheels down. Clean the track, don’t grease it. This is the single most common maintenance error we see on Baltimore slide gates.
- Using WD-40 on the operator. WD-40 and other petroleum products attack the seals on automatic gate operators. Use only the lubricant the manufacturer specifies for the operator, and nothing else.
- Skipping the battery test. A battery backup that’s never been tested is a battery that’s dead when the power goes out in a summer storm. Test it every season, and especially before winter.
- Ignoring measurements because the gate “still works.” A gate can function with a drifting gap or a settled post for months before it fails. Measuring catches the drift while it’s still cheap to fix.
- Letting road salt sit on iron and steel hardware all winter. Salt is the fastest route to a rusted-out hinge or post. Wash the gate down in spring and brush salt-laden snow away during the season.
- Bypassing a safety system to get the gate running. A photo-eye that’s been bypassed or a safety edge that’s failed is a serious injury risk. Never allow it “for now.”
- Calling a general handyman for an electric gate problem. Gate operators are a specialist system, and a generalist who diagnoses by guesswork will cost you more than a specialist who has the parts and knows the brand. Our technicians are gate specialists, not generalists.
See the difference
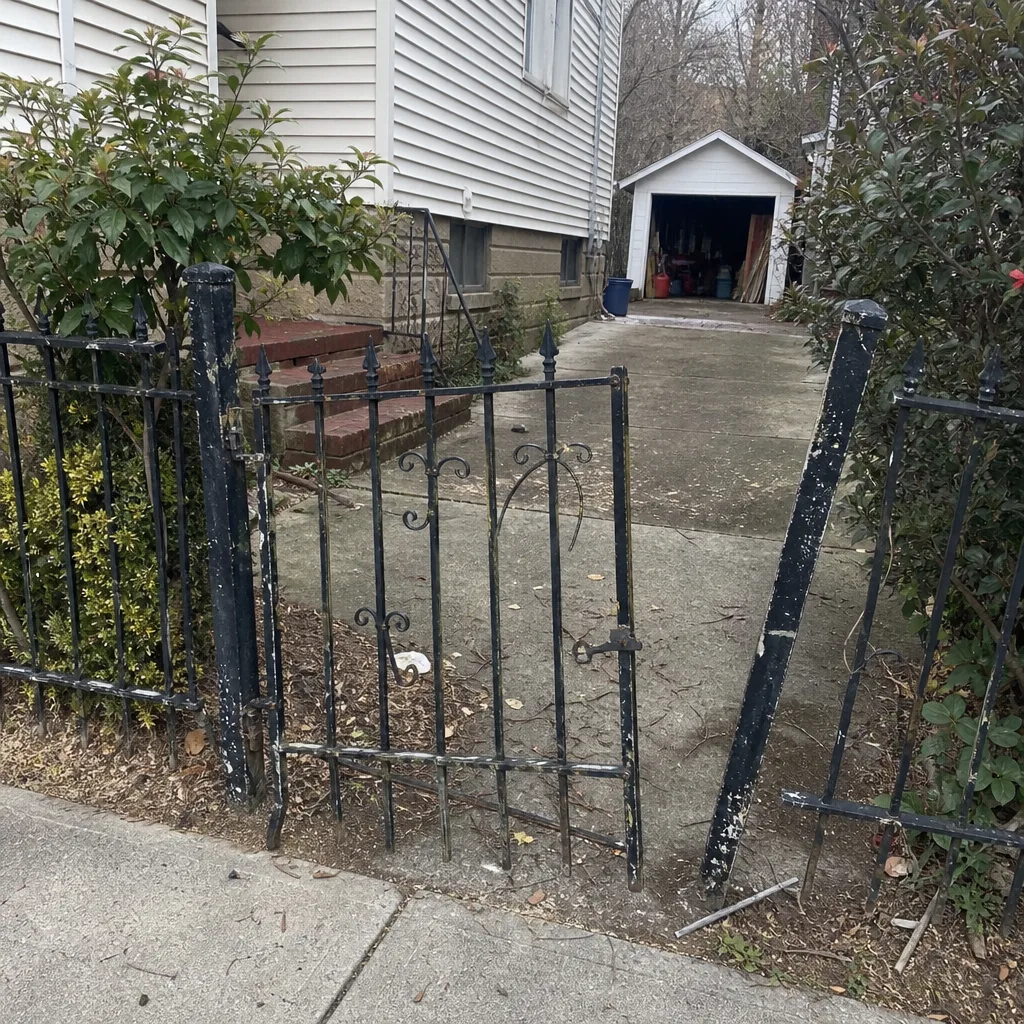 Before
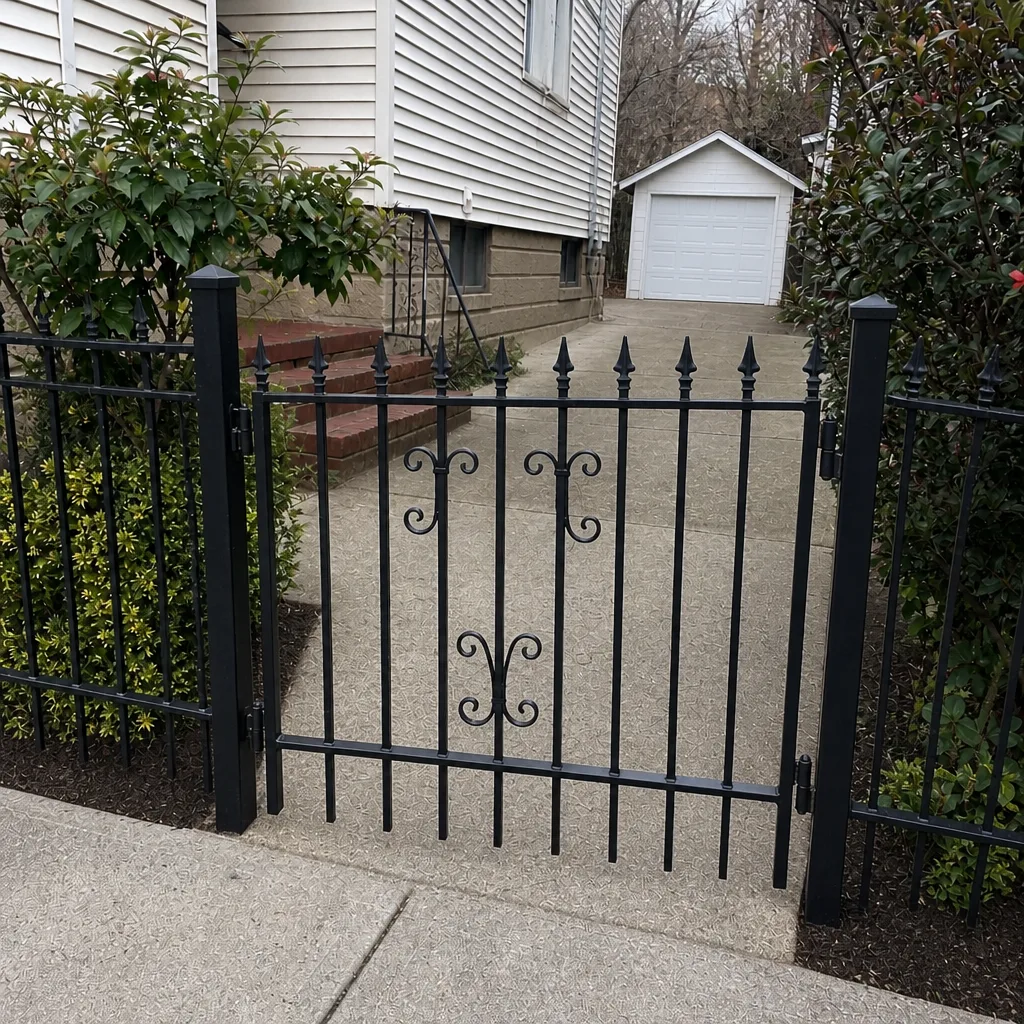 After
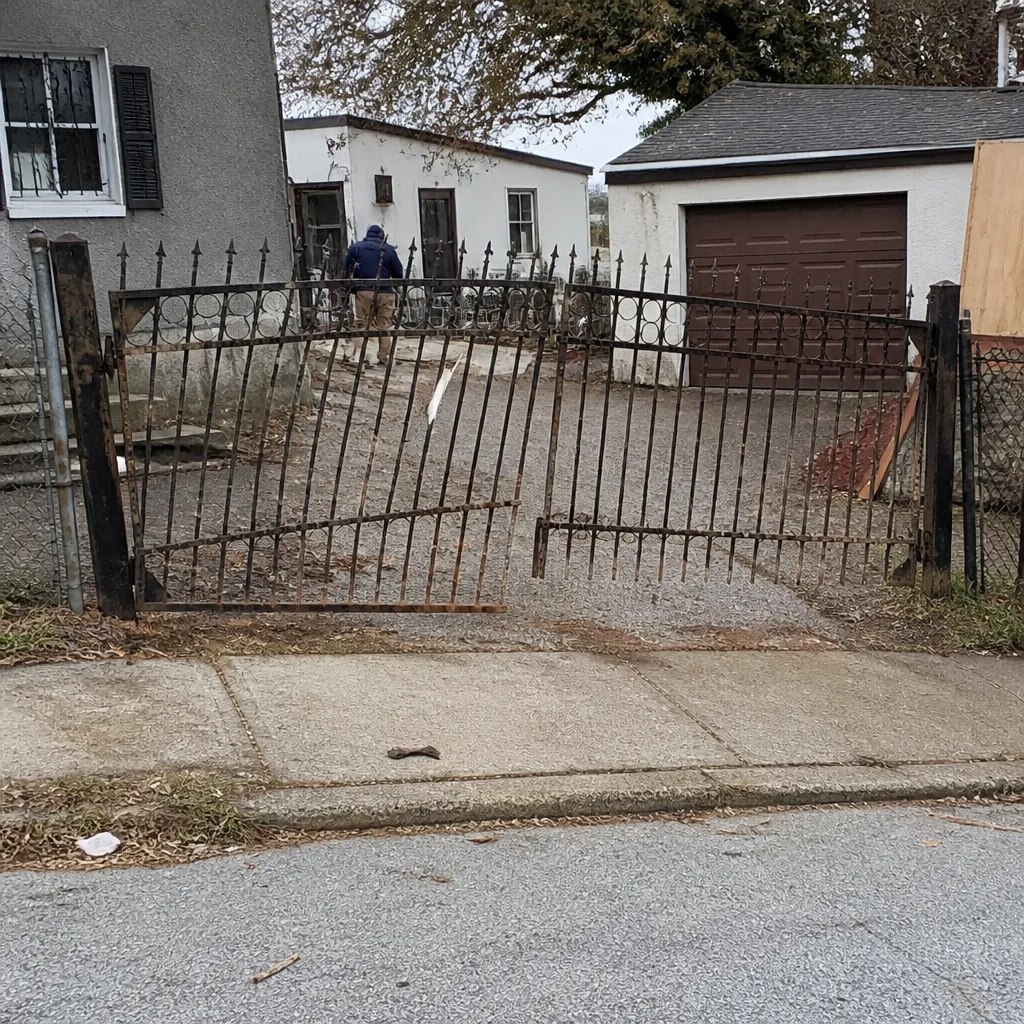 Before
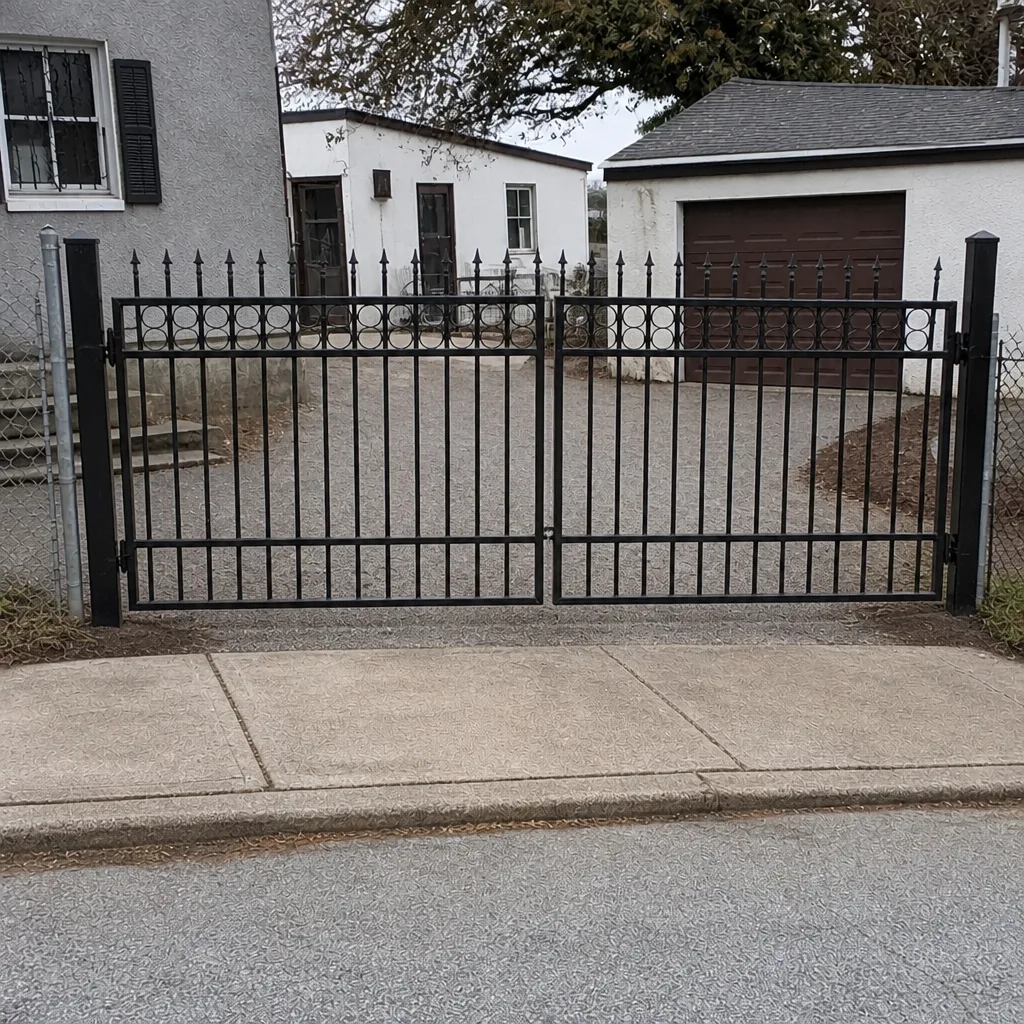 After
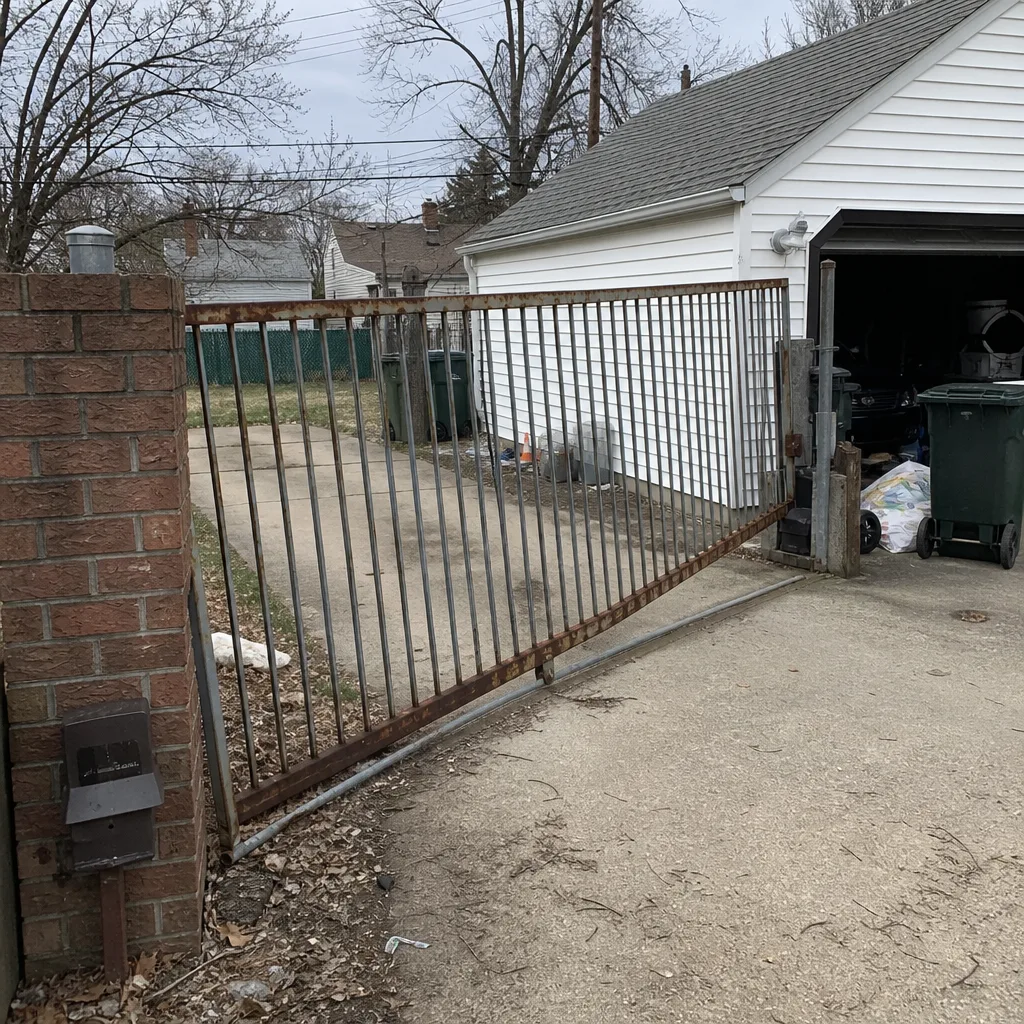 Before
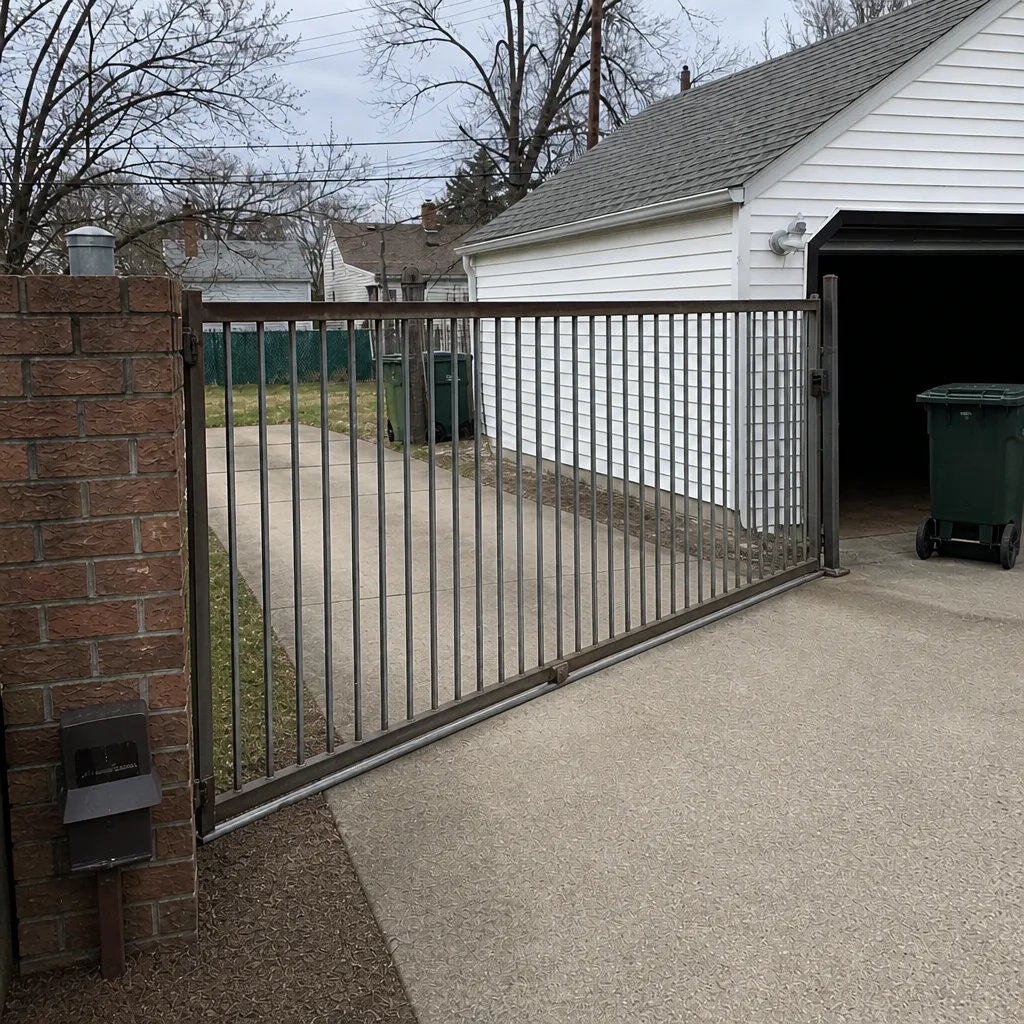 After
When to Call a Professional
If your gate is drifting, binding, straining, or electrically failing, it’s time to stop maintaining and start fixing. That includes alignment problems that won’t hold, operators that fault or won’t run on battery, safety systems that don’t reverse, and gates that have been crashed or come off their track. Structural work and electrical work belong to a specialist; the electric gate crossover – mechanical work plus low-voltage automation – is the part most generalists can’t handle. Baltimore Gate Repair offers free estimates in Baltimore – call (855) 356-2557. We’re gate specialists, and nine brands is all we work on. Electric or manual, we diagnose both sides of the problem.
Frequently Asked Questions
Inspect the gate monthly with a visual pass, do measurement checks and lubrication seasonally (spring, summer, fall), and schedule a professional inspection once a year. Baltimore’s freeze-thaw cycles and road salt make seasonal checks more important here than in milder climates, so don’t skip the spring and fall visits. Call (855) 356-2557 for a free estimate on a professional inspection.
Alignment drift and lubrication problems are the two most common causes in our experience. A gate that’s drifted out of alignment makes the operator work harder every cycle, and the wrong lubricant can attack the operator’s seals. Diagnosing either one takes measurements and a look at the operator’s fault codes, not a guess. Call (855) 356-2557 for an exact quote – estimates are free.
Test it by tripping the breaker and running a full open and close cycle on battery power; if the travel time is noticeably slower than on mains power, the battery is weak. Most batteries are good for about two to three years. Test the safety reversal on battery power too, and if the operator reports a fault, have a technician check it. Call (855) 356-2557 for an exact quote.
You can do the maintenance checks and lubrication yourself, but operator repair – control board, power wiring, low-voltage safety connections – should be left to a technician. Low-voltage wiring is still wiring, and miswiring is both a shock hazard and a way to destroy an expensive operator. If the gate has crashed or the operator is faulting, call (855) 356-2557. We answer 24/7. Fast dispatch from 7am to 7pm, Sunday through Friday.
Use the manufacturer-specified lubricant for the operator, a light machine oil or lithium grease on hinges and pivot points, and a dry PTFE or graphite spray on locks and latches. Never use petroleum-based grease or WD-40 on the operator’s rubber seals, and never lubricate a slide gate’s track. When in doubt, check the manual for the brand – LiftMaster, FAAC, BFT, and Linear operators all specify what’s acceptable.
Yes. We work on the brand you already have, and our technicians are familiar with the major gate and operator brands on the market, from LiftMaster and Linear residential operators to FAAC, BFT, DoorKing, and high-cycle commercial units. We also handle manual gate repair – it’s not all automation. Call (855) 356-2557 for a free estimate.
The Bottom Line
A gate maintenance checklist works when it’s specific: measurable gap and clearance numbers, the right lubricant in the right place, a battery test you actually run, and a corrosion watch tuned to Baltimore’s salt and humidity. Do a visual pass monthly, take measurements every season, test the battery before winter, and have a professional look at the whole system once a year. That level of attention is what keeps a gate running while it’s still cheap to fix, rather than after a post has shifted or an operator has failed. The checklist is the whole job – you just have to run it.
Written by the team at Baltimore Gate Repair, serving Baltimore since 2016.